Every deck owner stains their deck at some point. Depending on the products and application, some home owners stain their deck regularly. It seems like an easy enough DIY project. Which is why most people take on deck staining themselves. In this blog we’ll outline the proper way to stain your deck. There are quite a few tips not listed on the can of stain you buy at the store. Here are the professional best practices.
First things first; decide what kind of stain you want. Wood stains come in three finishes: transparent, semi-transparent, and solid. We listed them in the order of coverage (from minimal to full). Keep in mind semi-transparent and transparent stains don’t last as long as solid stains. A transparent stain on a deck lasts up to a year. We recommend choosing a tinted semi-transparent if you want a natural look. For older, damaged decks, a solid stain lasts up to 5 years. The solid stains also work the best to protect the wood from weather and aging.Once you choose a finish, the next step is picking a color. Stains come in almost any color you can imagine. Consider the deck as an extension of the home and choose a color that coordinates with the house. Red stains are vibrant and bold. They work well on brick houses that have natural red hues. The safest approach is to pick a natural wood color.Now that you have chosen your stain, how much should you buy? Well, the real answer depends on how porous the wood is. For a quick calculation, every 75 square feet takes about 1 gallon to stain with two coats. Be sure to measure the railings and factor their square footage into your calculation. Example: A 450 square foot deck would take an estimated 6 gallons of stain.Difference between wood stain and wood paint
Prepping the Deck- Steps 1-3
The majority of the work with deck staining is in the preparation. We recommend following the steps of how to refinish your deck if the wood is in poor condition. The staining process is much more effective when the surface is refinished to start. For new wood, the preparation is much less time consuming. In both cases, deck surface needs cleaning before staining. Powerwashing harms the layers of wood, so avoid pressure treating of any sort. Sanding is the safest way to clean the wood. It also exposes a fresh, undamaged layer. This fresh wood is perfect for absorbing stain.
Step 1
Sand the floor with a floor edger the same way you would with interior hard wood. Palm sanders and good old fashioned sand paper work for the railings. The smoother the surface, the better the finish. Run your hand across the wood and work toward a clean, smooth surface.
Step 2
After excessive sanding, the deck should be covered with sawdust. Sweep the deck clean with a push broom. Make sure to completely remove all wood particles from edges, cracks, and nooks. Applying stain over the sawdust creates a sloppy, textured finish with bubbles. You could hose the deck down, however, this step adds a day of drying time to the project. The deck must be completely dry before you can stain.
Step 3
Staining your deck can be a messy job. Even professionals drip product unintentionally. Create a protected painting environment by using drop cloths where needed. If the deck is on top of or next to concrete, brick, or stone, you’ll want to cover up any area susceptible to dripping. Quality stains are formulated to last. Getting drops off of stone and siding once they dry is nearly impossible. Use tape to trim the edge of the deck that meets the house. Rollers are used for the floor and having a protected edge helps.
Check the Weather
Once your deck is prepped and ready for staining, it’s time to consult the meteorologist. Check weather sites and local forecasts for an hourly break-down of what to expect. Choosing a warm, dry day is key. The first coat of stain takes a few hours to dry. After the second application, you’ll need clear skies for at least 24 hours to avoid damaging the finish. Temperature also matters. Deck staining requires 50 degrees or warmer for appropriate drying, (Sherwin Williams). At temperatures below 50 degrees, the added moisture in the air prevents the stain from curing.Sherwin Williams Product Application FAQs
Time for Staining
Create a well-thought out plan of attack. Staining a floor means as soon as you cover an area, you can’t walk on it. Consider the deck as a whole and figure out how to move systematically from one side to the other. We recommend starting with the rails and finishing with the floor. Railing balusters are the most labor-intensive part to stain. It’s better to knock those out first. Also, keep in mind the railing is a two-sided job, while the floor is one surface.
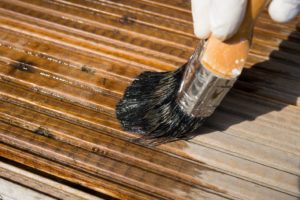
Staining the Rails
To avoid drips, we recommend having two people paint the rails together. Work face-to-face, moving down the railing and staining both sides as a team. For the railings, you’ll want to use a good quality paint brush. Make sure to keep the bristles clean and in their correct form. Dip the brush in the stain so that ¼ of the bristles are soaked in stain. Wipe the excess stain off. Avoid over-applying. Thick coats of stain take longer to dry and are more likely to appear sloppy. Once the first coat is completely dry (not sticky to the touch), apply the second coat.
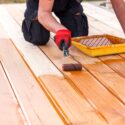
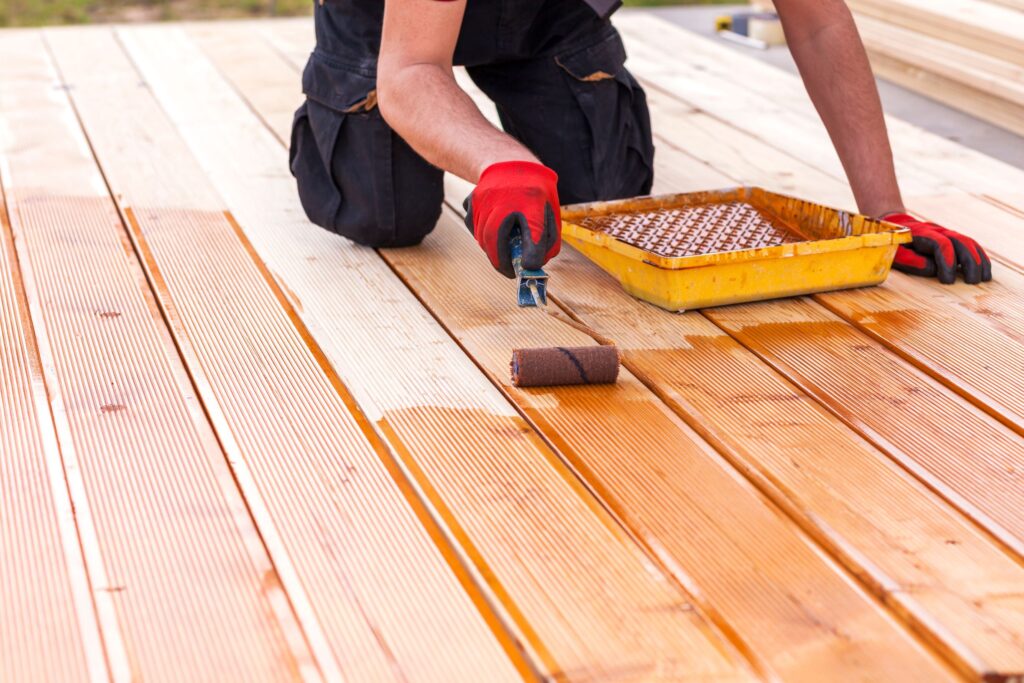
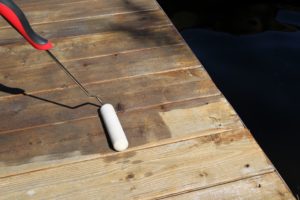
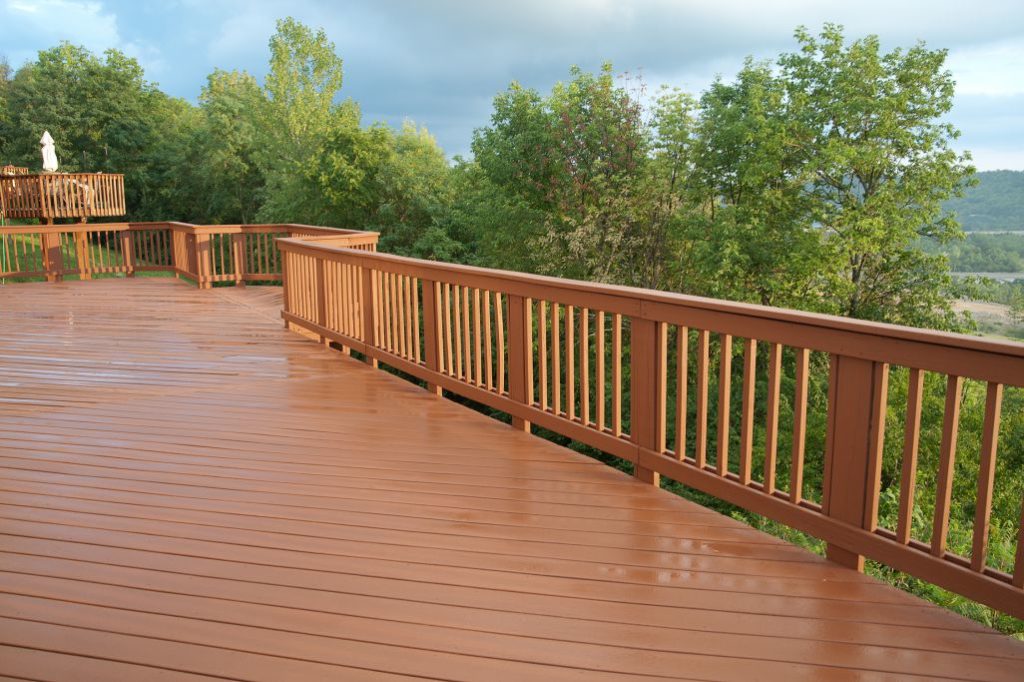
Staining the Floor
Use a roller and paint pole for staining the deck floor. Start in a corner and apply the stain section by section until you cover the entire deck. Just like with the brush and the rails, avoid over-applying. You want a moderately applied even base coat. Once the first coat dries, repeat the process. The roller makes deck staining easier on your back. It also cuts down on the paint time. However, the roller only hits the top of the deck boards. You may want to go back with a brush and hit any areas between the boards that were missed.
Let it Dry
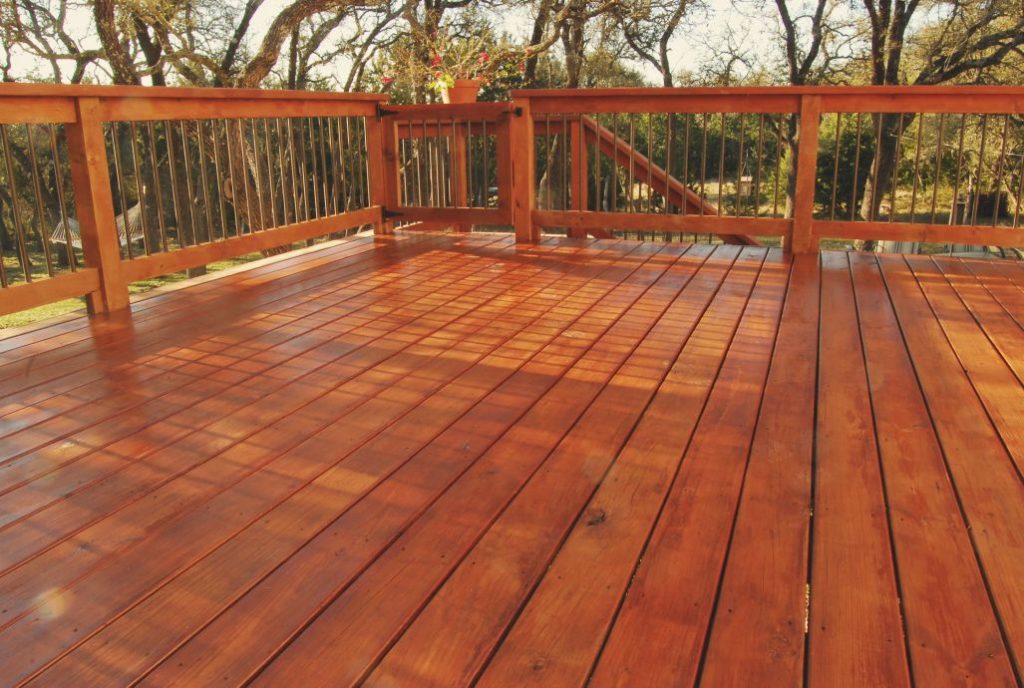
Sometimes patience is the hardest part of the job. After you successfully apply two coats of stain, let the deck dry. Drying time depends on temperature, humidity, and the wood itself. Remember, stain unlike paint, is absorbed by the wood. While the deck may be dry to the touch after one day, it still needs time to finish curing. Give your deck five full days before returning your furniture and walking on it. If you experience white chalk-like lines after the stain dries, no need to worry. There are deck washes that will remove the water marks, without damaging your staining. If you have brown spots on your deck, we have a solution for that too. Just check out our blog.